Everything you need to know to build drawer boxes for your woodworking projects in this drawer building tutorial.
Drawer box construction can seem daunting but there are only a few simple measurements you need to take to get the right
drawer box dimensions. Using pocket holes joinery, plywood and the right hardware makes building drawer boxes easy.
When I first tried to learn how to build drawers for one of my projects I had a difficult time finding all the information I needed. After researching the topic and now having had some experience I thought it would be nice to outline everything you'll need to know in one place.
What You'll Need
Materials
- 1/2" or 5/8" plywood for sides
- 1/4" plywood or tempered hardwood for bottoms
- (8) Pocket Hole Screws per box
Tools
Step 1: Drawer Box Construction Overview
Before we get into the details let's take a look at a typical drawer box construction. There are many different ways to build drawer boxes, some require special tools and skill while others are are very simple but not very strong or attractive. I think that using pocket hole joinery for drawers achieves a great balance between strength, appearance, cost and ease to build. That is the method I'll be describing.
Below is an image of an assembled drawer box minus the drawer slide hardware.
Using a separate drawer box and drawer front makes it easier to construct the drawer and provides more flexibility when aligning the drawer front on the cabinet.
The drawer consists of 6 main components. The drawer box sides, front and back, the drawer box bottom, the exposed drawer front and the drawer pull. 2 wood screws are used to secure the drawer front to the drawer box, 2 machine screws hold the drawer pull in place. Not visible are 8 pocket holes and screws that attach the back and front to the sides. The bottom sits in a dado (groove) cut into the sides, front and back.
Here is an exploded view of the drawer to give you a better sense of how it is constructed.
Step 2: Choosing Wood For Your Drawer Box
Before anything else, we need to determine the type of wood we'll use for the drawer sides and bottoms.
For the
drawer sides your options in order of best to worst are: solid wood boards, veneered hardwood plywood, MDF and melamine coated particle board. Because drawers tend to get abused a bit I prefer to use plywood for drawer construction as it's more durable than MDF or particleboard. Solid wood boards are nice but usually overkill and much more expensive. I like
PureBond 1/2" Maple Plywood
because maple has a tight, closed grain and the light color is good for drawer boxes. PureBond is also formaldehyde free.
Drawer box side thickness should be at least 1/2" but if you can find 5/8" plywood your boxes will be stronger. Unless you're building large drawer boxes for very heavy items or large file drawers 3/4" sides won't be necessary.
For the
drawer bottoms solid wood boards haven't been commonly used for many years for most drawer construction because of cost. 1/4" thick plywood is good enough for most drawers.
PureBond 1/4" Maple Plywood
is great for drawer bottoms. Another good choice that is about 1/2 the cost is
1/4" Tempered Hardboard
. Tempered hardboard is dark brown and not as attractive as plywood but is strong enough for drawer bottoms, easy to find and cheaper than plywood. From what I remember it was used for the drawer bottoms at labs in scool.
Step 3: Drawer Box Width
There are two main factors that will determine the outside width for your drawer box, the width of the opening the drawer will be installed in and the side clearance required by the drawer slides you are using.
I like to measure the opening width after I construct and finish the cabinet carcass. Sometimes things don't always go as planned and plywood thickness can vary. By doing this I get a more accurate measurement. I measure not only the front but also at a point in the back and use the smallest measurement if they differ. This is important because with many drawer slides there is very little tolerance.

Standard
epoxy coated drawer slides (like the
Blum 230M Epoxy Coated 3/4 Extension Self Closing Slides
pictured right) need a 1/2" clearance on each side of the drawer box. The clearance requirements should be available through the slide manufacturer.
To determine the outside dimension of the drawer box take the inside opening measurement and subtract 2 times the side clearance.
In our example the opening width is 12", 2 times 1/2" equals 1" so our final outside drawer width will be 12" - 1/2" - 1/2" or 11".
Some people like to also remove an additional 1/16" from the outside width because the drawer slides do have some tolerance and it's easier to shim the slide if necessary than to remove material but I do not do that. The reason is that plywood tends to be a little bit thinner than advertised and the way I measure and build my drawer boxes already makes them come out a little bit narrower than the actual measurements. I'll explain it more further down.
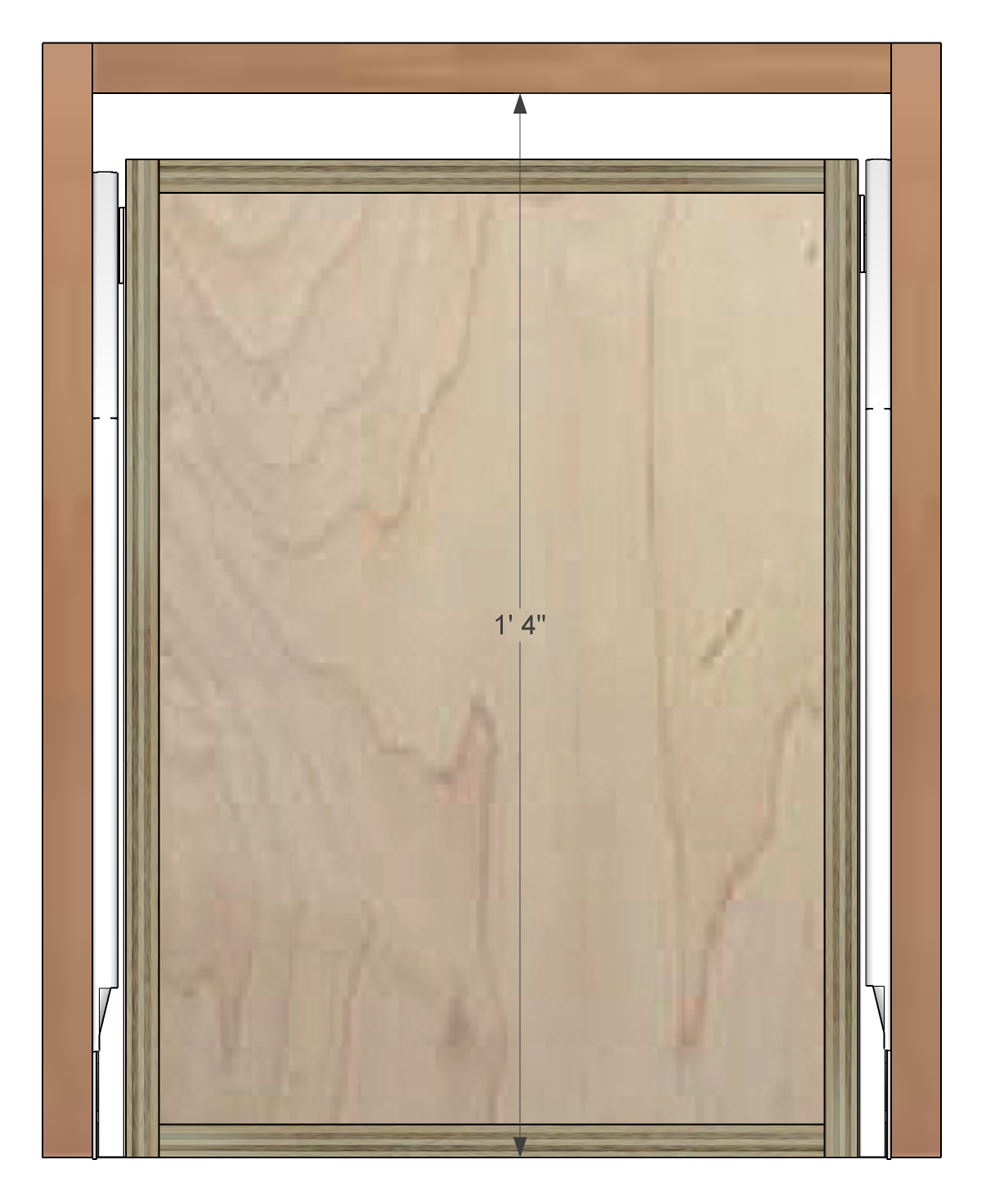
Step 4: Drawer Box Height
There are two situations you might run into when trying to determine the height for your drawer boxes. One is where there is a constrained height for the opening where the drawer will be installed such as the top drawer of a european style cabinet or drawers installed into face-frame cabinets.
Constrained Height
When the height of the drawer opening is constrained it is important to measure the actual opening dimensions. I do this after the cabinet carcass has been assembled and finished. I also measure both sides and in the case of any slight discrepancy I use the smallest measurement. Next it is a matter of allowing for proper top and bottom clearance as detailed in the specifications for the drawer slide.
Standard epoxy coated slides need a 1/4" bottom clearance and some top clearance to allow them to be more easily removed. I subtract 1" from the opening height to allow for the 1/4" bottom clearance and 3/4" top clearance.
In our example the opening is 5-1/2" so our drawer box height will be 5-1/2" minus 1/4" bottom clearance minus 3/4" top clearance equals 4-1/2" height for the drawer box.
Non Constrained Height
In some cases you may install drawers into a cabinet where there is not a separate opening for each individual drawer, such as the bottom portion of a european style cabinet.
In this situation the drawer front height should already be known and I make the drawer box height 1-1/4" shorter than the drawer front. In the case of a 10" drawer front height, the drawer box height will be 8-3/4".
Step 5: Drawer Box Depth
Determining the appropriate drawer box depth is a little more complicated than determining the other drawer box dimensions. To get the best use out of the drawer the main driver for the depth of the drawer box will be the size of the drawer glides you use. For example, if you're using these
Knape & Voigt 22" Economical Full Extension Drawer Slides 
you'll want to make your drawer boxes 22" to get full advantage of the full extension feature. Figuring out
what size drawer slides to buy will be determined by your cabinets construction and size.
First you need to measure the inside depth of your cabinet where you'll be installing your drawer. Measure from the back of the cabinet to the front of the cabinet as shown.
If you're cabinets will have
overlay drawers, where the drawer front sits in front of the cabinet body as pictured above, take the measured depth of the cabinet and look for a drawer slide that is 1 to 2 inches shorter than that measurement. The size of the drawer slide you selected will determine the length of your outside drawer depth.
If you're cabinet design calls for inset drawers, where the drawer fronts will be installed flush with the front of the cabinet, then you need to account for the thickness of the drawer front. In the above example we'll have a 3/4" thick inset drawer front installed in a cabinet with a depth of 16". That means we'll be looking for a drawer slide that is an inch or two less than 15.25" and build our drawer box depth so it matches the size of the drawer slide we'll select.
Step 6: Length of Drawer Box Sides, Front and Back
Now that we've determined what the outside dimensions of our drawer box should be, we'll need to figure out the length of each piece that makes up the outside perimeter of the drawer box. In the example we've been using we've determined our drawer box dimensions are 11" wide, 15" deep and 4-1/2" high.
Before we continue let's have another look at an assembled drawer box for reference.
Drawer Box Sides
As you can see from the illustration the length of each drawer box side is simply the overall outside dimension of the drawer box. In our case, 15".
Drawer Box Front and Back
Because the drawer box front and back fit between the sides it needs to be shorter than the outside width of the drawer box.
To determine the length of the front and back pieces take the overall outside width of your drawer box and subtract 2 times the thickness of the side pieces.
In our case we're using 1/2" plywood and our desired outside width is 11" so the length of our front and back pieces will be 10".
I mentioned earlier that the side clearance for the epoxy drawer slides are not actually 1/2" but 1/2" + 1/32" (17/32"). I don't account for the extra 1/16" (1/32" for each side) because plywood tends to be thinner than marked by about 1/32".
You should verify the thickness of your plywood with something like a
Neiko 6-Inch Digital Caliper
. Standard tape measures don't have markings down to 1/32" but if you don't have calipers you can stack 2 side pieces on top of each other and measure their combined thickness.
Step 6: Layout and Cut Drawer Box Sides, Fronts and Backs
I like to reduce waste when cutting lumber as much as possible which is why I always mock up my cut plan before hand. Buying one less sheet of plywood can be the difference between a DIY project that saves significant money and one that doesn't. I include the cut width (kerf) in the plans as well so I don't wind up with an unexpectedly short piece.
For most projects you'll be building multiple drawer boxes so the following cut plan is laid out for 2 of our 11" x 15" x 4-1/2" drawer boxes. It consists of 2 10" backs, 2 10" fronts, and 4 15" sides cut out of a 2' x 4' sheet of 1/2" plywood.

I think the drawer boxes look nicer when the length of the piece follows the grain of the plywood which is why I layout the side pieces along the long end of the plywood. I make my rip cuts first and then trim to length with a
power miter saw. I always make sure there are a few inches at the end of each ripped piece in case I need to extend the length of any of the components for some unforseen reason.
Dado
The bottom of the drawer box fits into a dado (groove) cut into the bottom of the side, front and back pieces. It does not get glued into place but rather floats in the groove to allow for expansion of the wood.
Since we're using 1/4" plywood for the drawer bottom our dado needs to be 1/4" deep and 1/4" wide. The dado should be cut a minimum of 1/4" from the bottom but if you want a stronger drawer box for storing heavier items space the dado 3/8" or even 1/2" up from the bottom.
How we plan to cut the dado will determine how we proceed cutting the drawer side components.
If You DO Have A Table Saw Or Router
A table saw is the best tool to use to get accurate, repeatable rip cuts for the drawer side components. You can also use it to cut the 1/4" dado or you can use a router table or router with guide. If you don't have a table saw but you do have a router you can rip the plywood with a circular saw and guide then cut the dado with the router. In either case the procedure is the same.
- Rip the long 4-1/2" strips of plywood using either your circular saw and guide or table saw.
- Cut the dadoes using either your table saw or router.
- When it's time to assemble the drawer boxes trim the pieces to the correct length using a miter saw.
If you don't have a table saw or router and don't want to buy one but you do have a Dremel rotary tool you can use it with a guide and a
Dremel 654 1/4" Straight Routing Bit
. Using it along with this
Dremel 231 Shaper/Router Table
makes it easy to make consistent daos in the drawer. The bits dull fairly quickly so you might want to pick up a spare and remember to feed the drawer side slowly and make 2 or 3 shallow passes instead of trying to cut the full depth of the dado all at once.
If You DON'T Have A Table Saw Or Router

If you don't have a table saw or router with a router table or guide don't worry. You can still cut out your drawer box components provided you have a circular saw and
circular saw guide. The order of your cuts will be slightly different.
- Mark out all your cut lines on the plywood. This includes both edges of the dadoes and don't forget to account for the cut width (kerf) of your saw blade when measuring out multiple rip cuts. Mark the cuts so you know which lines represent the dados and which lines represent the rip cuts. Each cut should have 2 marking lines, one for each side of the cut. Using different colors might help. See picture to right for details.
- Set your saw blade to only cut 1/4" deep into the plywood. Test it out on a scrap piece to be sure you're not cutting too deep.
- Lay your saw guide along each dado and cut out the dado with your circular saw. Take your time. Depending on the kerf of your saw you may need to do 1 or 2 more passes to get the desired 1/4" width. It's easier to cut all the dadoes before ripping the strips.
- Set your saw blade to cut through your plywood and proceed to rip out the strips for your draw sides.
- Use a miter saw to cut the components to length when it's time to assemble the drawer boxes.
I've done this before but it's very important to lay out each side of the cut accurately and take your time setting up your saw and guide so you don't mess it up.
Step 7: Assemble Drawer Box Sides
With all the drawer box sides cut we can now begin assembling the drawer box.
Start by drilling 4 pocket holes on the front and back pieces using a
Kreg Pocket Hole Jig. The pocket holes should be drilled on the side opposite where the dado is cut. Make sure you don't drill a pocket hole over the dado. For larger drawers you may require additional pocket holes. Pocket holes should be no further than 6-8" apart.
Once the pocket holes are drilled, screw the drawer box together as shown.
Make sure that the drawer box dimensions are correct and that the box is square before proceeding. If not make any necessary adjustments.
Step 8: Cut and Install the Drawer Bottom
With the drawer box assembled we can take final measurements so we cut the drawer bottom precisely.
Measure the inside dimensions of your finished drawer box and add 3/8" to each dimension. This allows a little room inside of the dado for expansion.
In our case our inside dimensions are 10" x 14" so we'll need to cut a 10-3/8" x 14-3/8" rectangle out of our 1/4" plywood. I like to cut it so the direction of the grain runs from left to right when installed in the drawer but this isn't that important and will cut in either direction if it makes more efficient use of the plywood.
With the drawer bottom cut to size unscrew the pocket holes from the back of the drawer box and carefully slide the drawer bottom into the dadoes on the drawer box sides.
Place the drawer box back in place and make sure everything still fits correctly and the drawer box is square. Screw and glue the drawer box back together and your drawer box is now complete.
Step 9: Finishing
Before going on to finishing, if you have a router you can ease the edges of the top of the drawer box sides with a round over bit or aggressively sand it to get rid of the sharp edges.
Sand the drawer box with 80 grit, then 120 grit sand paper to smooth out any rough spots or tool marks.
Staining drawer boxes usually isn't necessary but a polyurethane coating will help protect the drawer box and keep it clean. Avoid using oil based sealers on drawer boxes because they can out gas for years and that's not something you want in an enclosed space like a drawer. For drawer boxes I like to use
Minwax Water-Based Polycrylic
.
All that's left to do is install the drawer slide hardware in your cabinet, position and attach your drawer front and drawer pull.